WH-P1/P2 , ME-P1/P2 P1 / P2 Series Edge Finders

Characteristic
Model : WH-P1/P2 , ME-P1/P2
1. 1.The entire body has been rustproofing processed, which lengthens the lifespan of P1/P2 series' items2. Please rotating in 600~800rpm speed
3. Wigglers / Edge-finders are tools used in the spindle of the milling machine. The device is used to accurately determine edges or center of a workpieces.
P1 / P2 Series Edge Finders
Rotary-Edge Finder , Wiggler Edge Finder

| MODEL | G.W.WEIGHT KGS | Measuring Position / Accuracy | LxWxH/UNIT:mm |
| ME-P1 | 0.075 |
Probe: 5mm / +-0.005 | 144x13x10Shank Diameter |
| ME-P2 | 0.044 | 93 x13x10Shank Diameter | |
| ME-P2C | 0.044 | 93 x13x10Shank Diameter | |
| WH-P1 | 0.075 | 144 x13x10Shank Diameter | |
| WH-P2 | 0.044 | 93 x13x10Shank Diameter | |
| WH-P2C | 0.044 | 93 x13x10Shank Diameter |
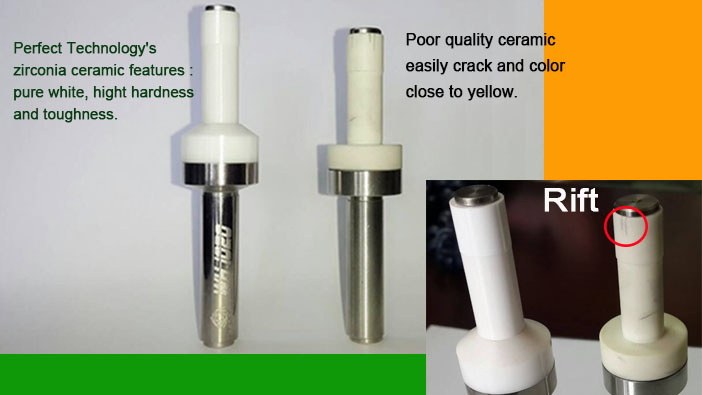
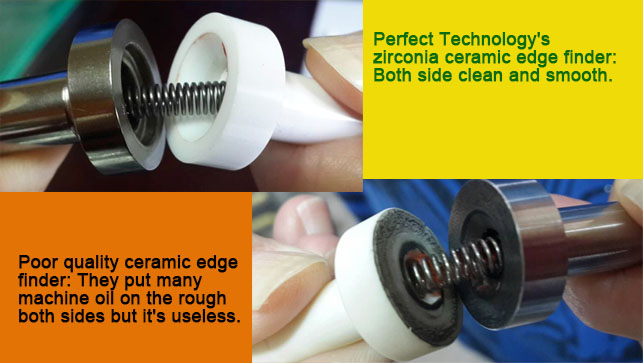
Our company use high-quality zirconia for the ceramic materials. It's totally different from other poor-quality ceramic. Although they look similar, but there si huge difference in endurance between theirs and ours.
Besides of this, Our edge finders are polished and rustproof in order to give you the greatest using experience.


Edege finder Usage:

1. Rotation speed 600 ~ 800 rpm.
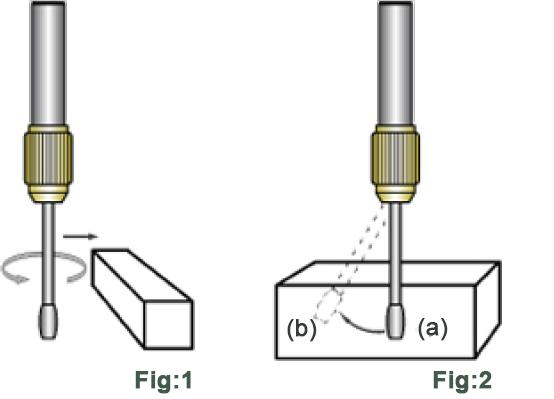
Turn the handwheel ( in μm ) forward to the machining objects and touch it slowly. (Fig 1)
2. Make the measureing end not vibrate, as it is like in stationary state (Figure 2) (a)
3. Move it in a more slightly and touch it again, measuring end will slip aside (Figure 3),
The point begins to slip aside is the starting point and the reference position.
The object location pluses the radius (2.5 mm.) of measuring end is coordinates centre.


