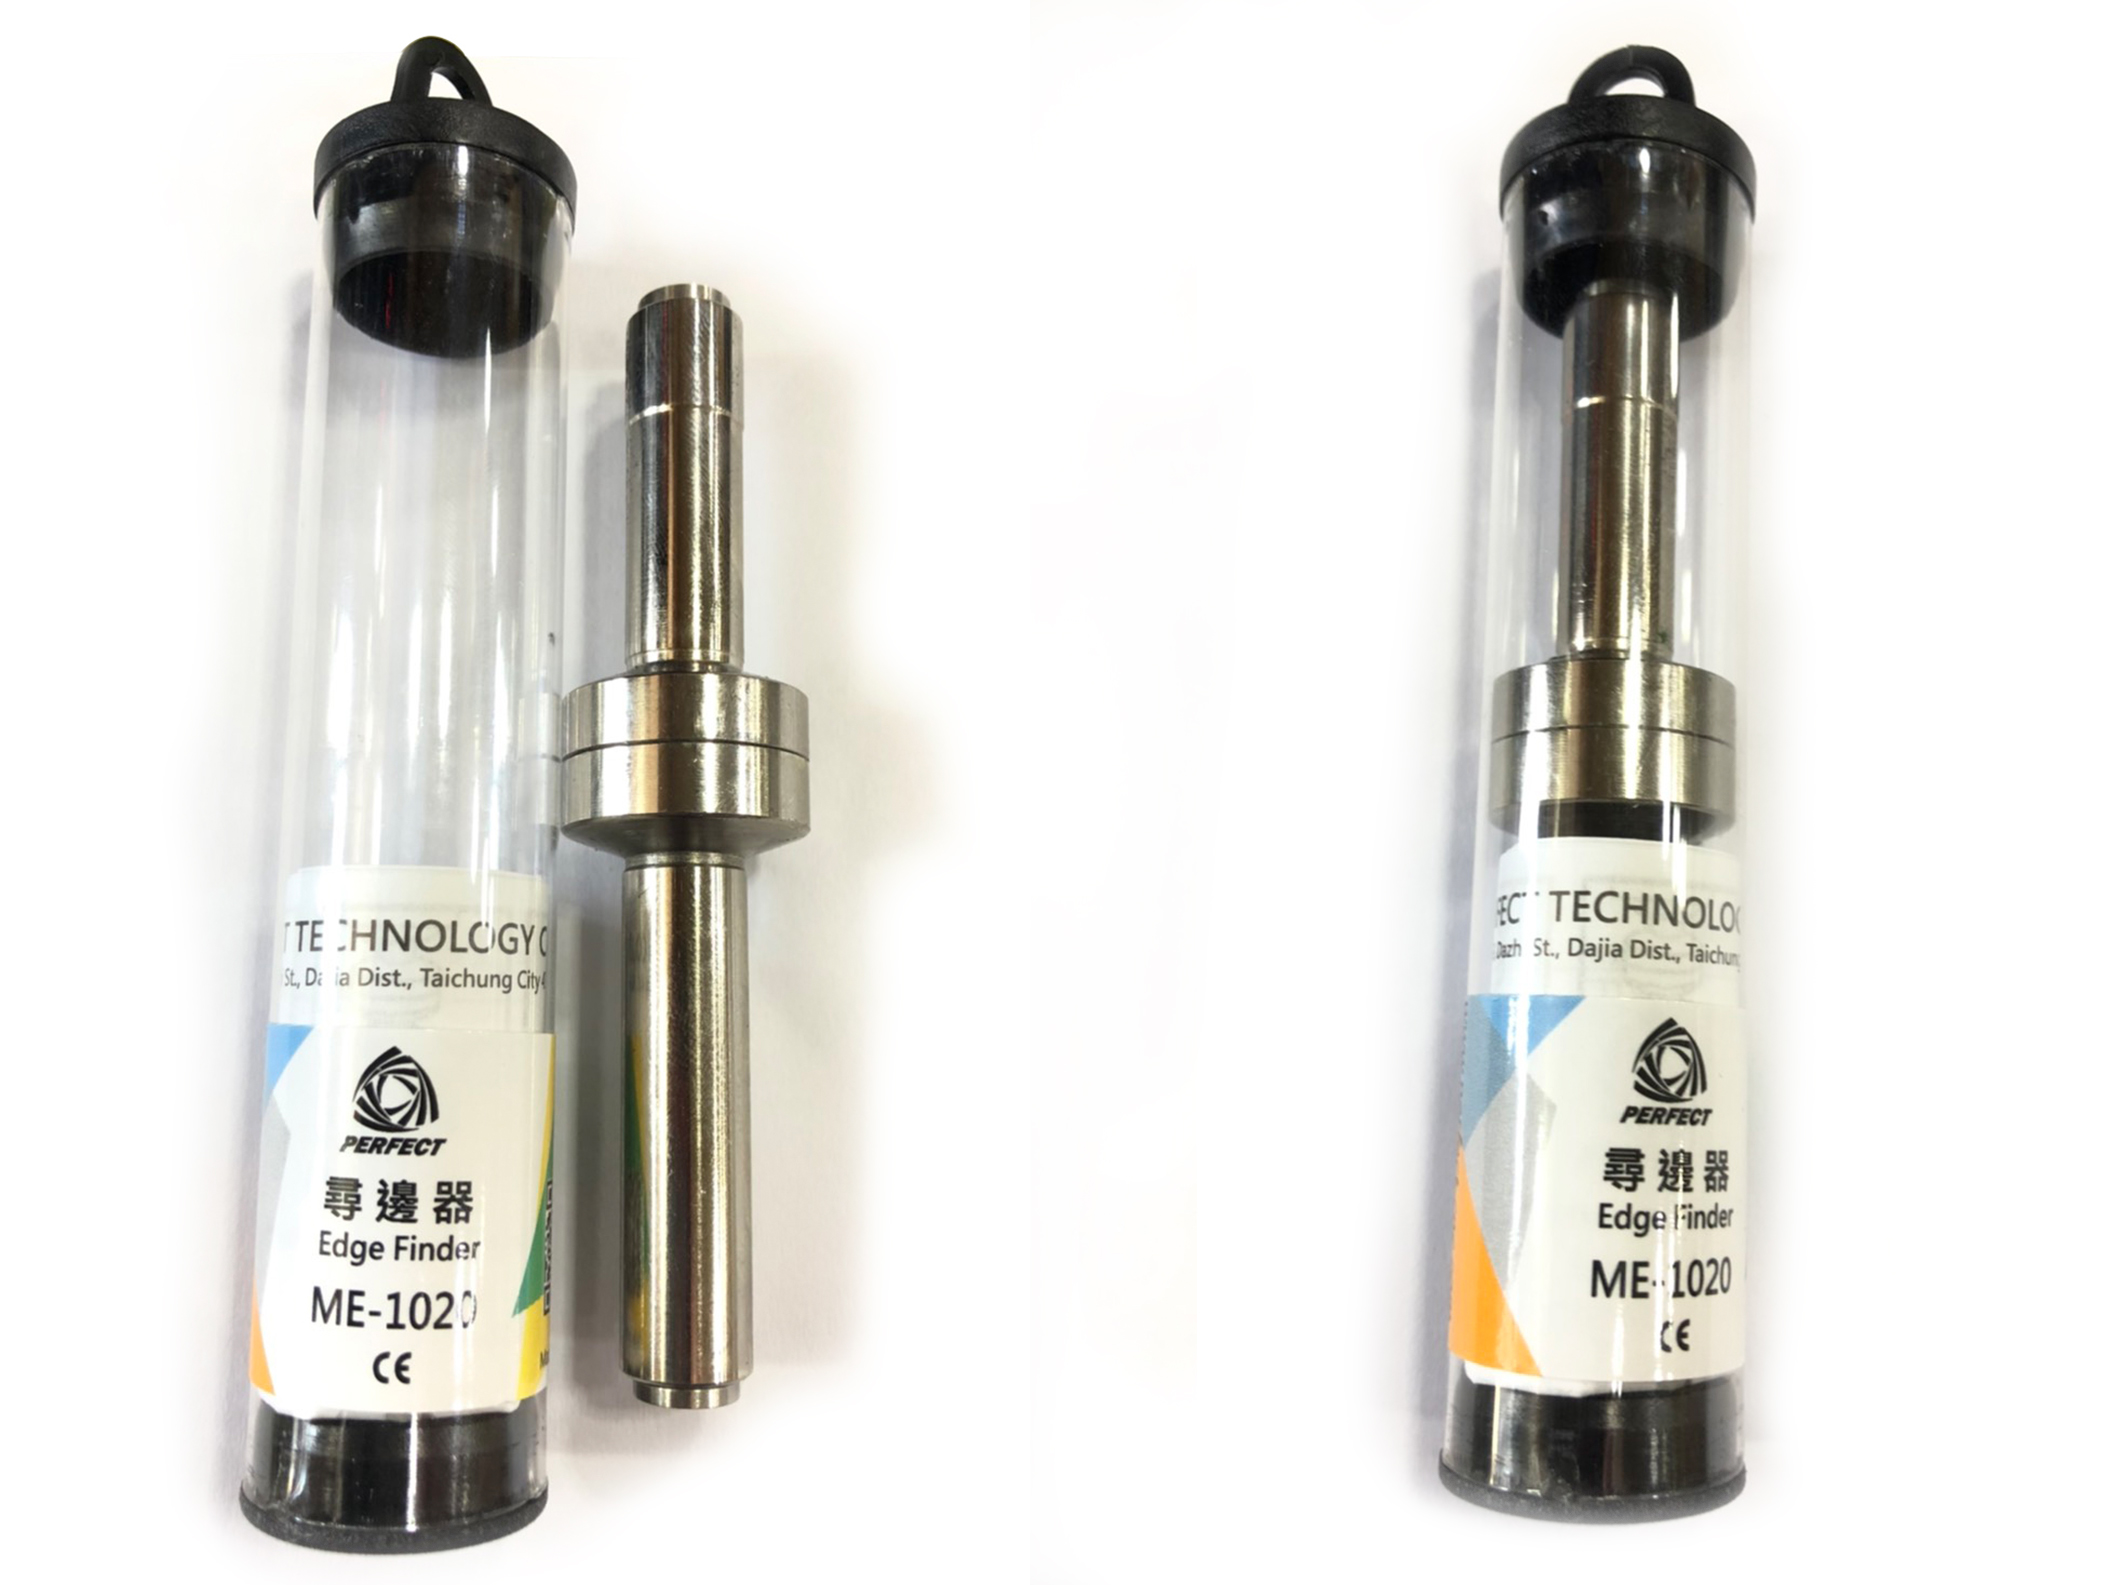
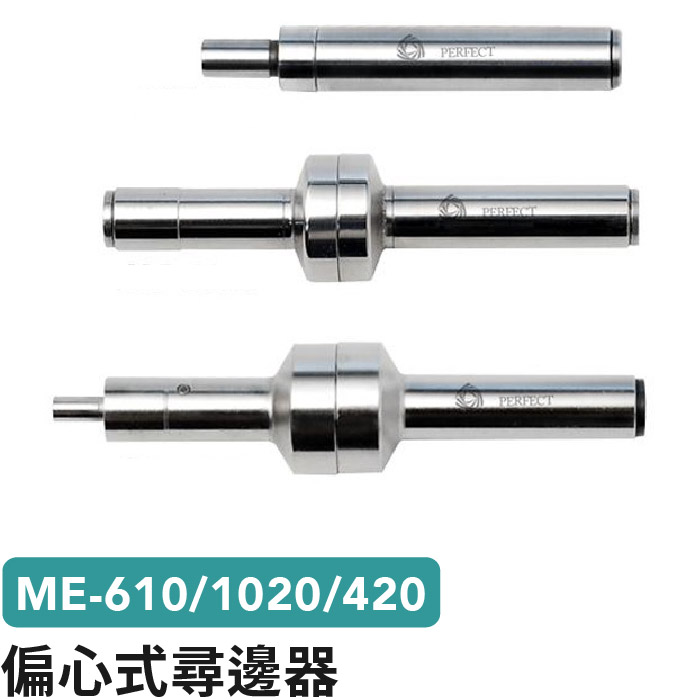
ME-610/1020/420 MECHANICAL EDGE FINDER

Characteristic
Model : ME-610/1020/420
ME Series: Please use them in speed of rotation 600 ~ 800 rpmOur Edge Finders are rust proof and also polished, in order to give you the greatest using experience.
MECHANICAL EDGE FINDER
Rotary-Edge Finder
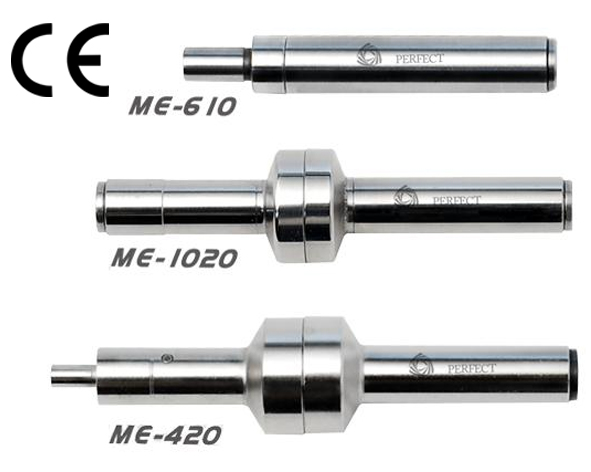
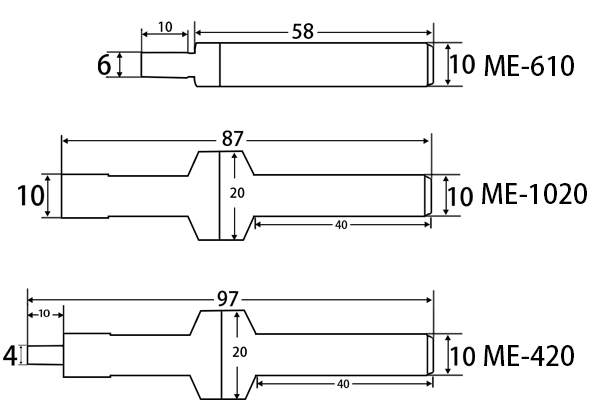
TYPE | G.W.WEIGHT KGS | ACCURACY | L x W x H /mm |
ME-610 | 0.08 | Probe 6mm / 0.005 μm | 71 x 10 x 10 |
ME-420 | 0.14 | Probe 4mm / 0.005 μm | 97 x 20 x 10 |
ME-1020 | 0.12 | Probe 10mm / 0.005 μm | 87 x 20 x 10 |
Edege finder Usage:
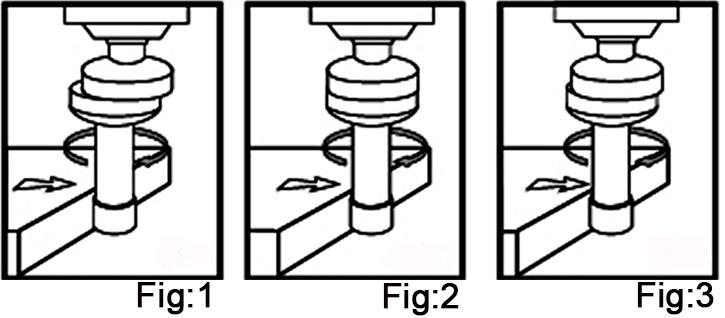
1. Rotation speed 600 ~ 800 rpm.
Turn the handwheel ( in μm ) forward to the machining objects and touch it slowly. (Fig 1)
2. Make the measureing end not vibrate, as it is like in stationary state (Figure 2),
3. Move it in a more slightly and touch it again, measuring end will slip aside (Figure 3),
The point begins to slip aside is the starting point and the reference position.
The object location pluses the radius of measuring end is coordinates centre.
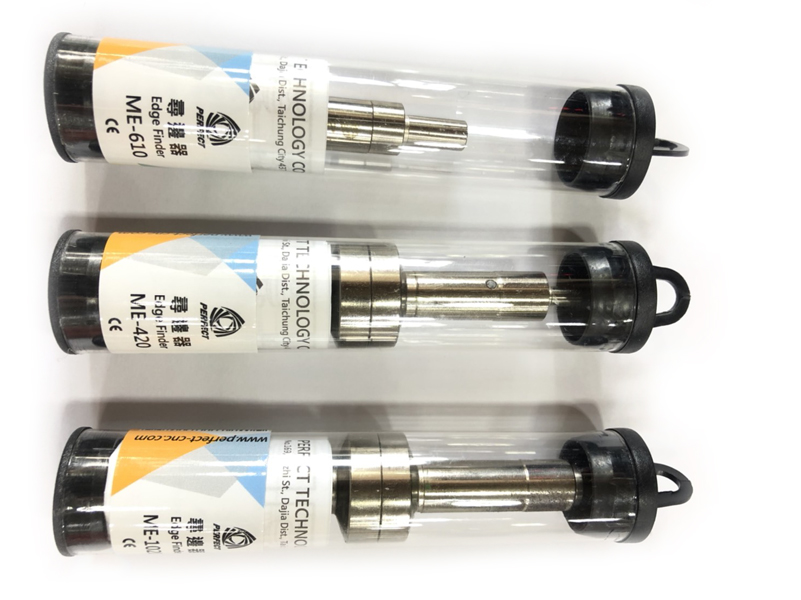
Edege finder package:
